
Professional Headshot Tips: 15 That Make the Biggest Difference
15 professional headshot tips, in order of how much they change the photo: light, angle, framing, clothes, expression and the edit. For a studio shoot or your own phone.

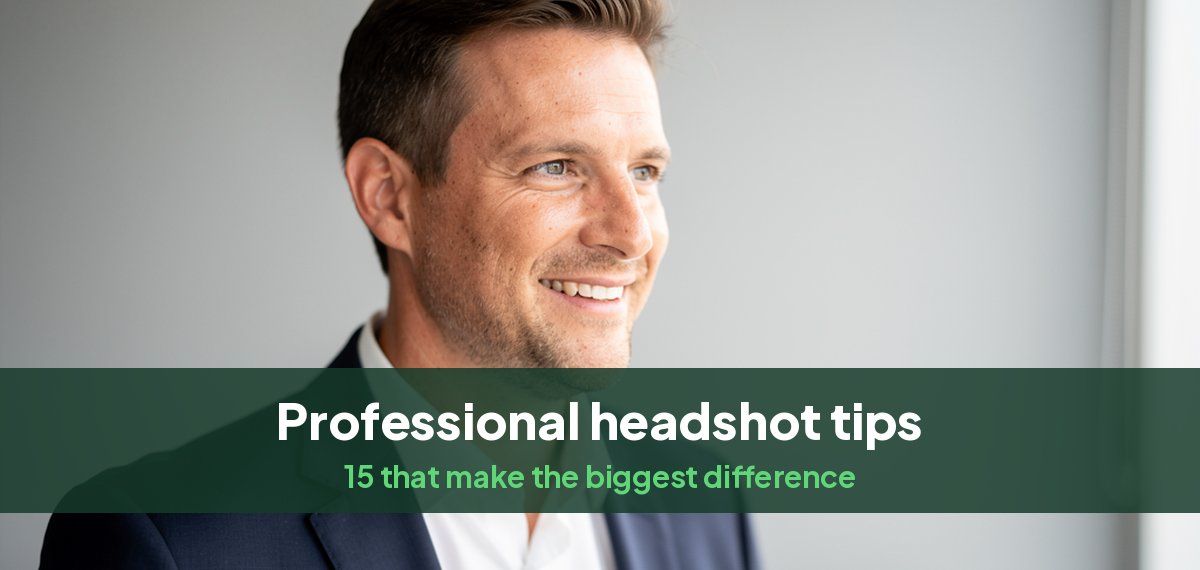
The tips that change a headshot most are the light, the camera height and the framing. Clothes, expression and editing come after. This list is in that order, so if you only have ten minutes, start at the top. It works for a session with a photographer and for a headshot you take yourself.
If you would rather have the photo made than follow instructions, the free AI headshot generator turns one of your photos into a headshot with no sign-up.
Light
1. Face a window, never stand with it behind you. Soft daylight from the front or slightly to one side is the most flattering light there is, and it is free. A window behind you turns your face into a silhouette. Our headshot lighting guide covers lamps and reflectors for when daylight is not available.
2. Avoid overhead light. Ceiling lights put shadows under your eyes and nose. Turn them off and use the window, or bounce a lamp off a white wall in front of you.
3. Look for even light across both sides of your face. If one side is much darker, turn a little toward the light or hold a sheet of white card or paper on the dark side, just out of frame.
Angle and framing
4. Put the camera at eye level or just above. A camera below your chin looks up your nose and adds weight. A camera far above makes you look small. Eye level, or a few inches higher, is the professional default.
5. Stand back and zoom in, rather than holding the camera close. At arm's length, a lens enlarges whatever is nearest, usually the nose and forehead. From six to eight feet away with a little zoom, your face keeps its real proportions.
6. Frame from the top of the chest up, with space above your head. Your face should fill roughly two thirds of the height of the photo. Leave some room around you, because LinkedIn, Slack and most profile sites crop to a circle. Our headshot sizes guide gives the exact crop for each site.
7. Turn your shoulders slightly, face the camera. Square shoulders read as stiff; a 20 to 30 degree turn of the body with your face toward the lens looks relaxed and confident. Our headshot poses guide shows the poses that work.
8. Bring your face forward a little. Push your forehead slightly toward the camera and lower your chin a touch. It defines the jawline and is the single most used trick in professional headshots.
Clothes and background
9. Wear solid, mid-tone colors that fit well. Navy, gray, burgundy, forest green and soft blue photograph well on most people. Avoid busy patterns, large logos and anything that is loose at the shoulders. Our guide to what to wear for a headshot has outfits by role.
10. Choose a plain background that contrasts with your clothes. A light gray or off-white wall works for most people. Our guide to the best background color for headshots explains which colors suit which skin tones and outfits.
Expression
11. Smile with your eyes, not only your mouth. Narrow your lower eyelids slightly as if you are about to laugh. A mouth-only smile looks posed; a smile that reaches the eyes looks warm and confident. Our guide on whether to smile in a headshot covers when to go serious.
12. Breathe out just before the photo. Tension shows in the shoulders and jaw. Breathe out slowly, drop your shoulders, and take the photo at the end of the breath.
13. Take many photos and pick one. Professionals take fifty to a hundred frames to deliver five. Take at least twenty, changing your chin, smile and angle slightly between each, and choose the one that looks most like you on a good day.
The edit
14. Edit lightly. Correct the brightness, straighten the frame, remove a stray hair or a blemish that will be gone next week. Do not smooth your skin, reshape your face or add a filter. The photo has to match you when you walk into a meeting.
15. Keep it current. Replace your headshot when your hair, glasses or face change noticeably, or every two to three years. A recruiter or client who meets you should recognize you from it immediately.
Before a photographer session
- Bring two or three tops in different solid colors, ironed, on hangers.
- Ask what the photos are for and say so: LinkedIn, a company site, an acting submission. The photographer will frame and light for it.
- Ask how many retouched images and what usage rights are included. Our guide to what professional headshots cost lists the extras that grow a quote.
- Sleep, drink water and skip salty food the night before. It shows around the eyes.
When you need it today
Headshots by Magic Studio turns about ten of your own photos into 50 AI headshots across 5 looks, ready in 15 minutes, with the light, framing and clothes above already handled. You see them before paying. Our guide to taking a professional headshot at home covers the do-it-yourself route step by step.
Common questions
What are the most important tips for a professional headshot?
Soft light from the front, the camera at eye level from a few steps back, and framing from the chest up with your face filling about two thirds of the photo. Those three matter more than clothes or editing.
How do I look good in a headshot?
Face a window, turn your shoulders slightly toward one side with your face to the camera, push your forehead a little forward, and smile with your eyes. Take twenty photos and choose the best.
What should I not do in a headshot?
Do not stand with a window behind you, hold the camera close, wear busy patterns, crop yourself out of a group photo, or use heavy filters and skin smoothing.
How can I improve my headshot photos?
Retake them in better light before you edit. If the light was right, a light edit for brightness and straightening is enough. Heavy editing makes a headshot look less like you.
Should a professional headshot be in color?
Yes, for almost every use. Black and white suits some creative and acting work, but LinkedIn, company sites and ID badges expect color.